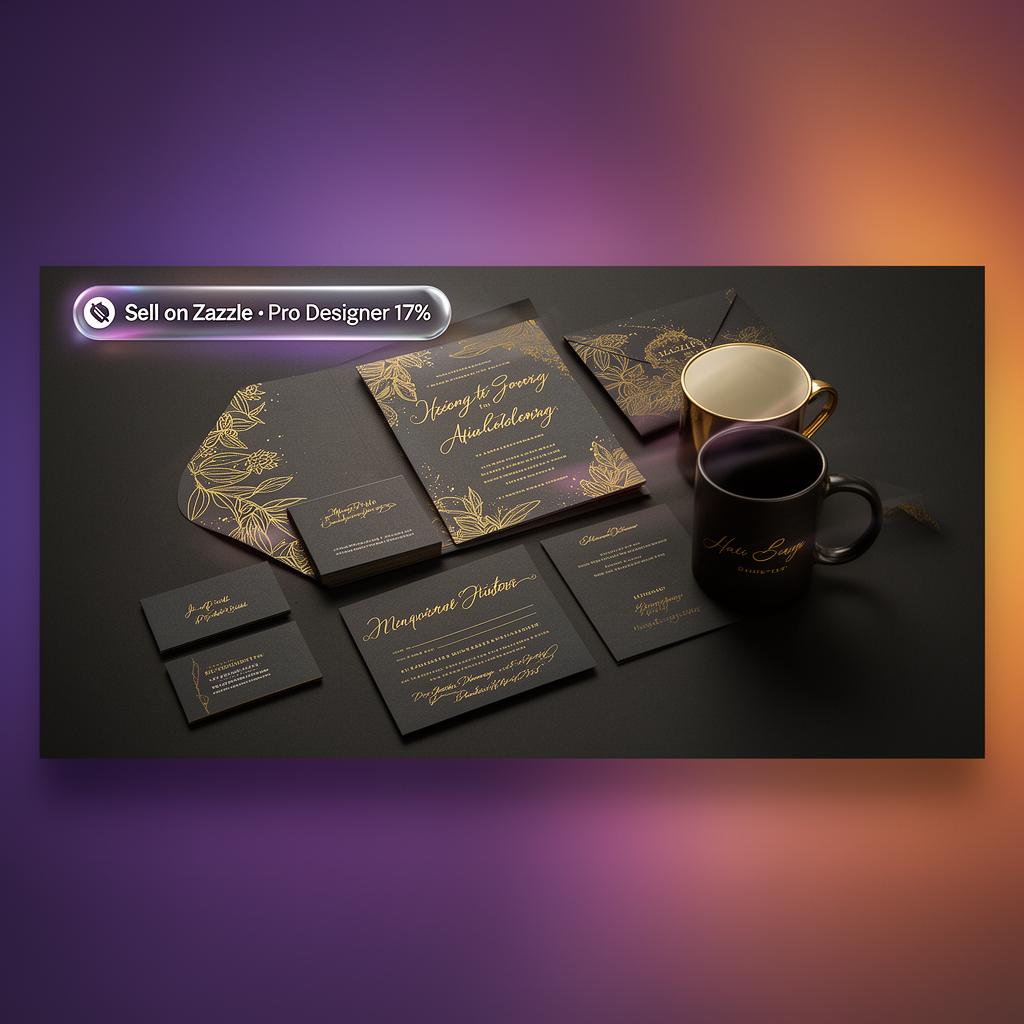
Zazzle is the print-on-demand platform built around customization and personalization. Founded in 2005 in Redwood City, California, with ~25 million monthly visitors and 1,300+ product types — the largest catalog in POD. Where Redbubble sells finished designs, Zazzle sells products buyers can personalize: wedding invitations with the couple's names, business cards with custom contact info, baby shower stationery with the parents' details. This guide walks through exactly how to sell on Zazzle in 2026: account setup, the 10–15% royalty sweet spot, what actually sells, and the Pro Designer tier that unlocks +17% volume bonuses.
Is Zazzle worth selling on in 2026?
Yes — if you design for personalization-heavy categories. Zazzle's ~25M monthly visitors arrive with high commercial intent (weddings, birthdays, business launches, baby showers) and average order value is well above Redbubble's. The catch: pure-art designs (random t-shirts, mugs, posters) get buried by the personalization-first algorithm. If you design templates buyers customize, Zazzle is the best-paying POD marketplace for that vertical, full stop.
Step 1 — Open your Zazzle designer account
- Go to
zazzle.com/sell and click "Create your store". - Create a free account (email + password). Choose your store name carefully — it becomes
zazzle.com/store/yourstore and is your brand on the platform. - Verify your email and complete your profile (bio, location, profile photo).
- Submit a W-9 (US) or W-8BEN (international) tax form before publishing your first product. Earnings don't accrue without tax forms on file.
- Connect PayPal (or request check payments). Zazzle pays monthly with a $50 PayPal minimum / $100 check minimum after a 30-day clearance period per sale.
Step 2 — Upload artwork to Zazzle spec
- Format: PNG with transparency (preferred) or JPG. SVG accepted for vector products.
- Resolution: 300 DPI minimum. For large products (posters, blankets, framed prints) upload at 4000+px on the longest side.
- Color profile: sRGB. Avoid CMYK files — colors will shift in print.
- Text within designs: outline all fonts (convert to paths) so the file renders identically on every device.
Step 3 — Build customizable templates (this is where Zazzle pays)
The single biggest mistake new Zazzle designers make is publishing static designs. Zazzle's algorithm and audience reward customizable templates. Use the Zazzle Design Tool to:
- Place editable text fields (name, date, address, RSVP info) the buyer can change without graphic-design skills.
- Enable buyer color swatches on background, accent and text where it makes sense.
- Allow buyer photo upload for products like save-the-dates, holiday cards and birthday invitations.
- Lock layout elements (logo, decorative borders) so the buyer can't accidentally break the design.
A wedding invitation with editable names + date + RSVP field outsells the same design as a static print by 10× — buyers come to Zazzle specifically because they don't want to hire a designer for one-off personalization.
Step 4 — Set royalty at 10–15% (not 99%)
Yes, Zazzle allows royalties from 5% to 99%. No, you should not set 99%. Zazzle's ranking algorithm penalizes listings with royalties above ~20% — they appear lower in search and category pages, conversion drops, and total revenue falls. Real-world data from top sellers:
- 10% royalty: algorithm-favored, highest organic visibility.
- 15% royalty: balanced — works for products with strong demand.
- 20%+ royalty: noticeable conversion drop; only justified for ultra-premium niches.
- Pro Designer tier: adds a 17% volume bonus on top of base royalty.
Most six-figure Zazzle designers run 10% royalty + Pro Designer status, earning a blended ~27% per sale on much higher volume than 99%-royalty competitors.
Step 5 — Niche selection: what sells on Zazzle in 2026
The highest-converting Zazzle categories are personalization-led:
- Wedding stationery — invitations, save-the-dates, RSVP cards, menus, programs.
- Birthday invitations — kids' themed, milestone birthdays, adult parties.
- Business cards — industry-specific templates (real estate, photographer, salon).
- Baby showers & gender reveals — invitations, thank-you cards, decor.
- Holiday cards — Christmas photo cards, Hanukkah, New Year.
- Address labels & stamps — return-address labels, custom stamps.
- Personalized gifts — name mugs, custom phone cases, monogram totes.
Step 6 — Zazzle SEO: title, tags, description
- Title (under 80 chars): Lead with the product type + occasion + style. Example: "Floral Watercolor Wedding Invitation with RSVP Card Template".
- Tags (10 per product): mix the occasion (wedding, birthday), the style (floral, modern, vintage), the audience (bride, mom, real estate agent), and the product type (invitation, business card, save the date).
- Description: 100–200 words. Front-load the occasion and style. Explain what's customizable. Add care instructions or paper-type notes for premium SKUs.
Step 7 — Build a Zazzle store, not a Zazzle scattering
Zazzle rewards coherent stores. Pick 2–3 closely related categories (e.g. wedding stationery + bridal-shower invites + thank-you cards) and build 30–50 cohesive templates inside them before expanding. Cross-shop discovery inside a single store is responsible for most repeat sales — a buyer purchasing a wedding invitation will often return for the RSVP card, menu and thank-you card if you sell them with matching design.
The bottom line
Sell on Zazzle in 2026 if you design templates buyers can personalize — wedding stationery, business cards, baby showers, birthday invitations, holiday cards. Set royalty at 10–15%, build customizable (not static) templates, qualify for Pro Designer as soon as possible to unlock the 17% bonus, and group products into cohesive stores instead of scattering single designs across categories. For pure art, t-shirts and stickers, stay on Redbubble — see our POD niches guide for which platform each niche pays best on, or run the free niche finder to validate any niche before designing.
Still choosing between the two? The Redbubble vs Zazzle comparison covers royalty models and payout thresholds, and if you'd rather run your own store with a fulfillment partner, see Printful vs Printify.